Tutorial: Sonic Driver
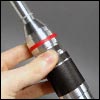 In this tutorial I will describe the process of building one of my resin Sonic Driver prop kits. Though it’s a relatively simple kit that essentially just needs to be painted, the partially complex shape of the prop can make the preparation work quite tricky and requires some expertise.
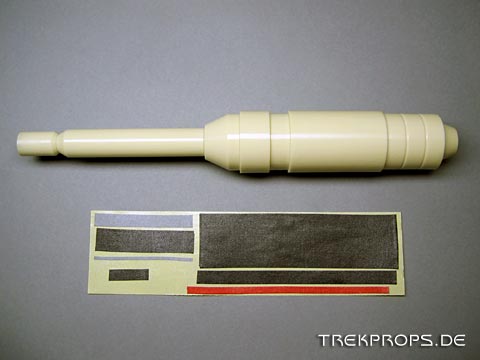
The kit consists of the resin cast body and some tape which is added in the end. And that’s all there is to it, really.
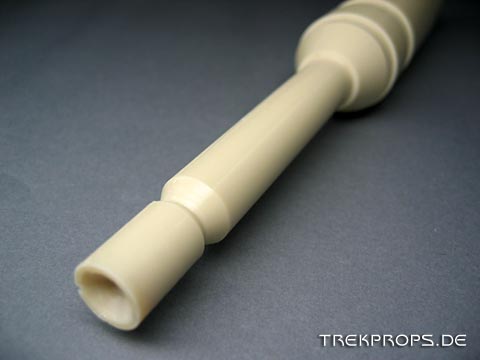
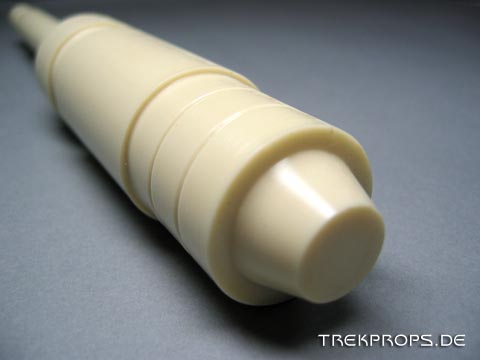
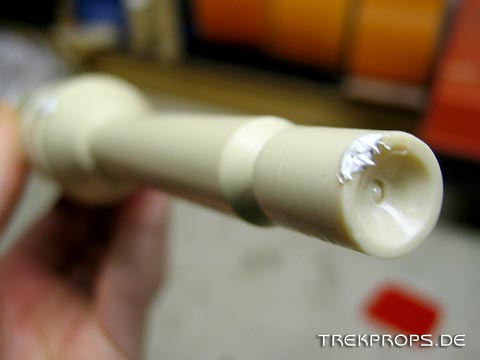
Here are some detail shots of the casting:
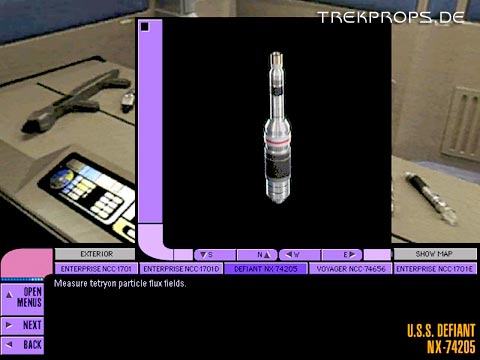
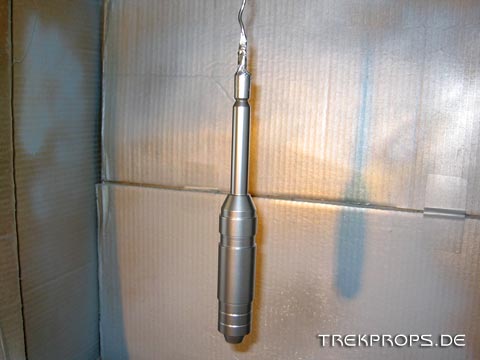
And here is a picture of the original for comparison:
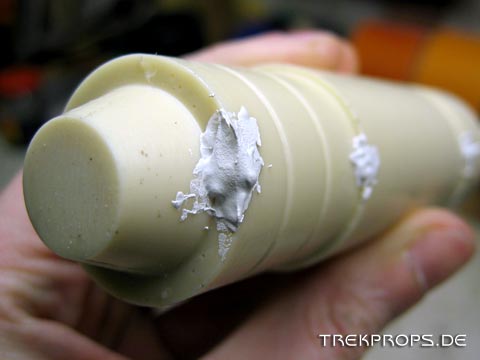
When I first tried to cast this prop up, I had a lot of trouble with air bubbles in my castings. Then I learned how to improve my technique of mixing the two resin components by adding them together and then pouring them from one cup to another several times instead of stirring them. So, very few air bubbles were left to be filled.
To fill the bigger holes I used a two-component polyester putty which is normally used in the automotive sector. It cures very quickly (within 30 minutes) and can be sanded very easily.
Here are two of the biggest bubbles already filled:
Next is sanding. This is the most elaborate step in any prop building project. You will spend a lot of time grinding and sanding. So, sandpaper is essential here.
Remember to “go through the grits”. This means that you should start with a higher grit sandpaper to roughly shape the object and then move to lower grit numbers to make the surface smooth. Be careful not to remove too much material in the beginning, because it’s much easier to remove a little more instead of adding something.
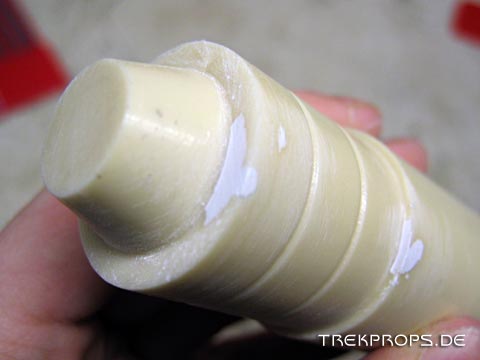
In the next picture you can see that I used a high-grit sandpaper to process the larger air bubbles first. The hole is still visible. Also, there is still putty which doesn’t belong there.
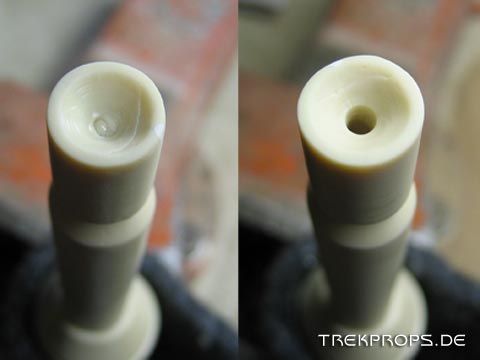
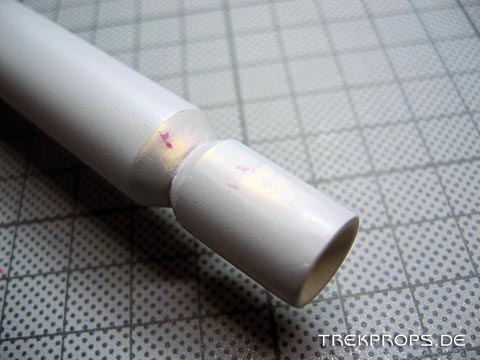
The tip of the instrument is next: Here I also filled a smaller air bubble and sanded it smooth going from high to low grit numbers.
I decided to drill a hole into the tip, because that’s how it is on my original aluminum prop. Also, it adds a lot of authenticity.
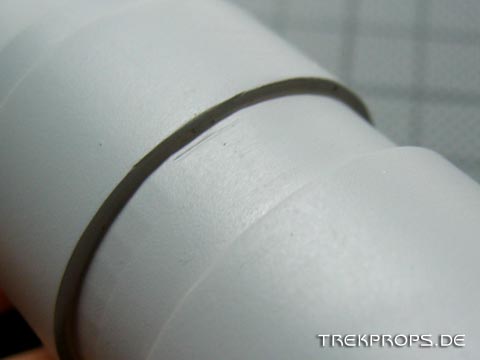
Sandpaper is not only used to sand down any left over putty, it is also necessary to remove other flaws that resin castings might have, for example the seam line. It occurs along the body where the two mold halves meet and is inevitable. Certain professional casting techniques however can reduce the seam line to an extent where it’s almost not visible anymore.
Reality is, that you should inspect every square centimetre or even millimetre of your prop and process it with sandpaper or putty. Sometimes however, sandpaper is not the first choice, for example when it comes to fine details or structures. In this case you should have several different small files handy to handle that.
For bigger kits or larger areas you can also use power tools like a belt sander. But be careful: These tools don’t allow the same control over your work as a manual job does. Before you know it, your project could be ruined because you removed too much material or you slipped and damaged something. Also, the risk of injuring yourself is a lot higher, so take the appropriate steps to protect yourself!
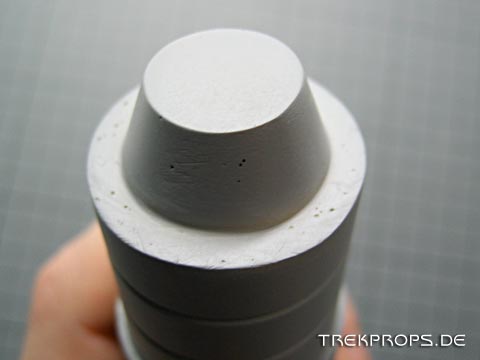
Now, if you think that the prop surface is smooth and you repaired all of the defects, apply the splash-coat (a coat of primer) to reveal any previously invisible imperfections: scratches, blemishes, pinholes.
Allright, there’s still a lot to do here!
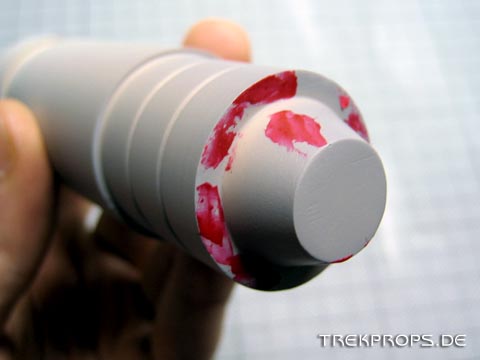
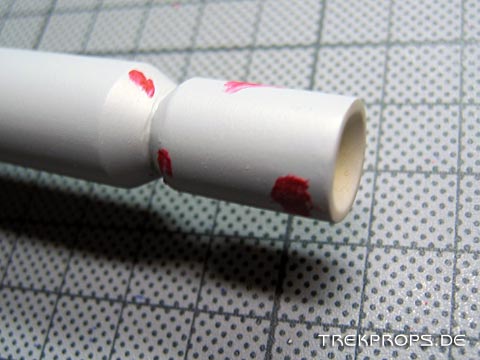
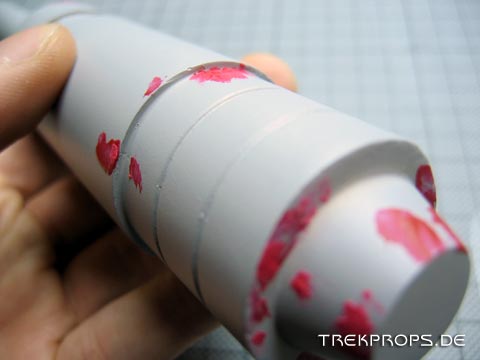
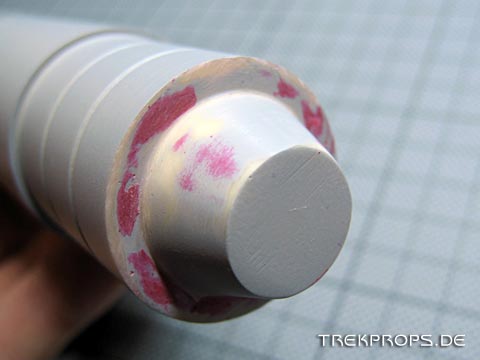
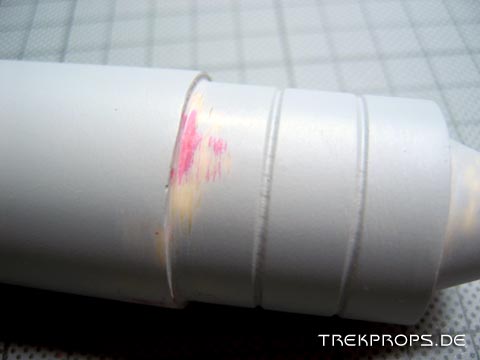
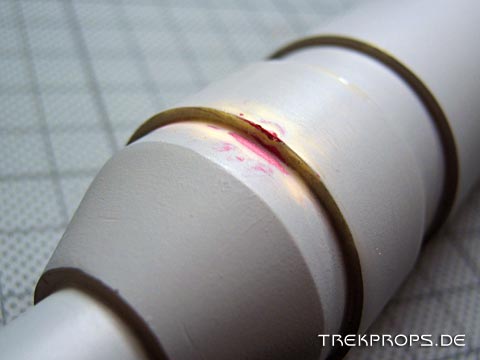
To remove such small defects, I use a spot putty. It’s not necessary to mix it from two components which makes it very easy to use right out of the tube. I chose to use a red spot putty because it’s easily visible during the application as well as during sanding. Since it will be painted over later anyway, it won’t affect the final finish.
Here you can see the areas covered with spot putty:
After I had applied spot putty to every visible scratch, pinhole etc., I then again used sandpaper to once more remove any excess putty by “going through the grits” until the beige color of the resin becomes barely visible again. However, don’t take off too much – you don’t want to change the overall shape of the prop.
This is how the result looked like:
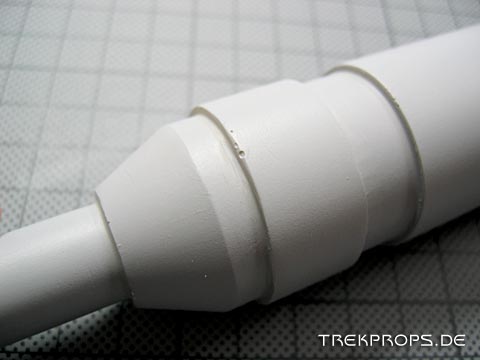
Now, another coat of primer was in order. After it had dried, I again took a hard look at every part of the prop. Normally there are still pinholes etc. left after this “second splash-coat”.
This is repeated until the prop body is absolutely perfect. Of course, the term “perfect” depends on what the person who is building the prop is regarding acceptable. Me, I’m a perfectionist and I probably do this way too often. Remember: The final coat of paint doesn’t hide any defects, but makes them even more visible!
A very important aspect here is patience. It can be quite unnerving to apply another coat of primer only to discover that there are still scratches or pinholes left. However, once they are all repaired, you can tap yourself on the shoulder knowing that you did everything possible to make the prop perfect.
Now that the surface was completely flawless, I could apply the final coat of primer. One last checking look: Is there still a… No, thank god it’s just a shadow!
After the primer had completely dried, I moved on to the paint. I used a chrome paint containing real aluminum particles to create a highly realistic approximation. Silver spray paint is also suitable for this. A little trick helps to prevent ugly paint blobs: Place the can in warm water for ten minutes. The heated paint will then be dispersed a lot finer.
One precept of painting is to apply several thin coats and let them dry before applying the next instead of spraying one thick coat. It’s alright if the primer is still visible after the first coat! Be patient, even if you want to finish the prop soon. You don’t want to ruin it during the last step by causing “paint noses” occurring due to too much paint, do you?
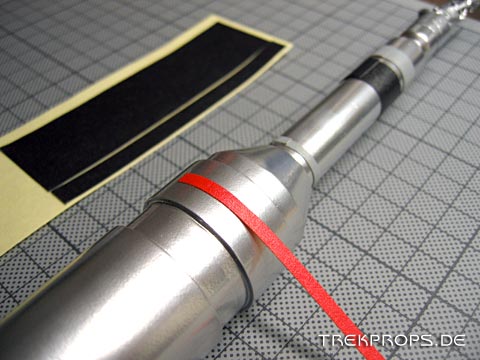
Once the painting process was finished and the paint was dry (again, you should rather wait a little long than ruining the prop), I could add the greeblies which was the last step in this buildup.
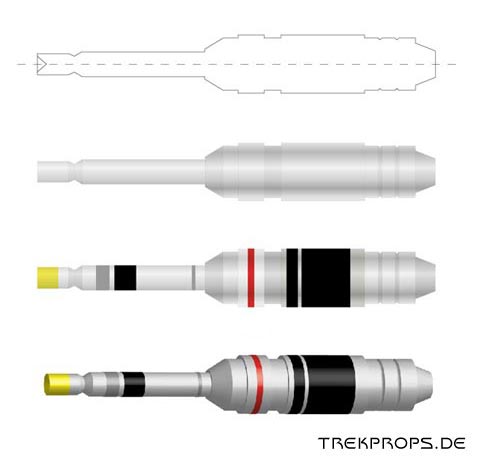
In this case, the greeblies are nothing more than differently colored grip tape cut to shape and attached at the correct areas (see illustration).
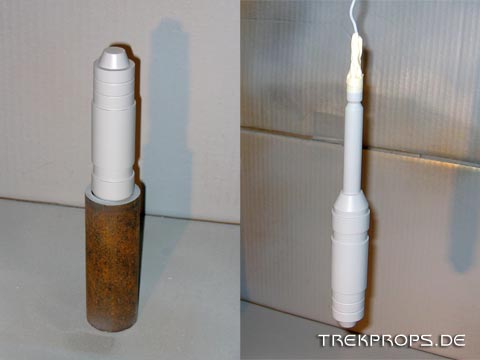
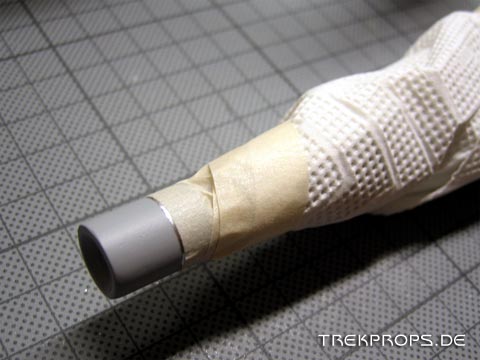
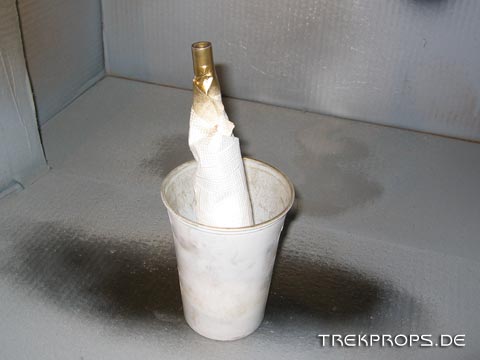
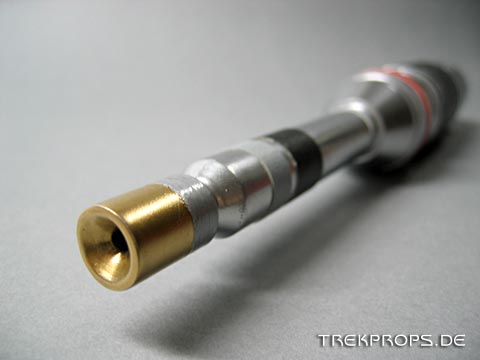
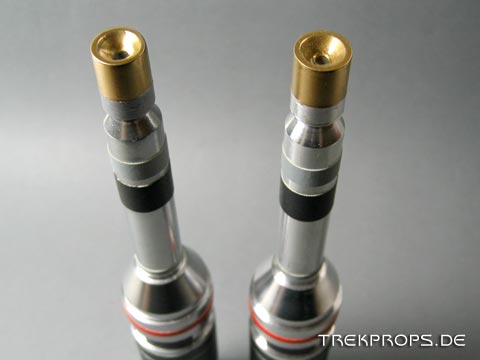
The last step is to paint the tip golden. Of course, I had to mask off the rest of the prop to protect it. I used crepe tape for this because it can be removed easily. Anyway, to avoid any risk of damaging the base paint, I only masked a small area at the tip and wrapped a paper napkin around the rest of the prop.
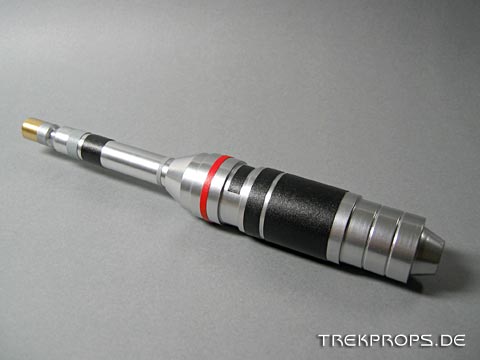
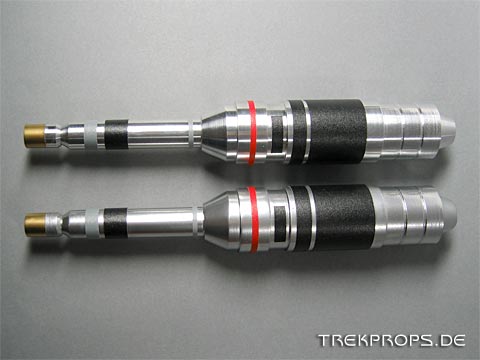
The prop is finally finished! Here’s how the result looks like:
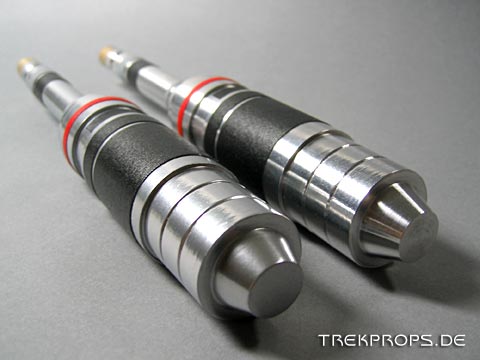
Here are some comparison shots I did with the original aluminum version which served as a master model here:
There’s almost no difference visible on the pictures. The chrome paint is not quite as shiny as the real aluminum, but that was to be expected. Unfortunately it also tends to get even duller when handled.
Anyway, I think the result is very good and satisfying.

One Response to “Tutorial: Sonic Driver”
Jeremy Norman on: December 14th, 2014 at 22:54
Is this kit available please?
Post a Comment
Want to see your picture next to your comment? Go get a Gravatar!