ODN Scanner
 Chief engineers using their wonderful high tech instruments to diagnose, calibrate and repair circuits and talking “technobabble” – that’s what I love about Star Trek! Geordi LaForge, Miles O’Brien and B’Elanna Torres are some of my favourite characters because they know every system and every technical detail on their ship inside and out – from waste disposal to the warp core.
This excitement of mine led to a passion for engineering tool props. As a matter of fact, this is what brought me into the hobby of prop replicas in the first place! Even as a kid I always wanted to have these little blinking devices, so why not build them myself now?
Since these types of props are not very prominent within the Star Trek universe – Phasers and Tricorders for example are more dominant – it is rather difficult to get any information regarding them. So, there’s only one method to get some reference material: To watch episodes and capture as many screenshots as possible.
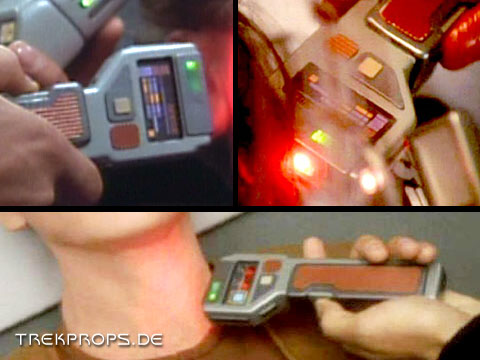
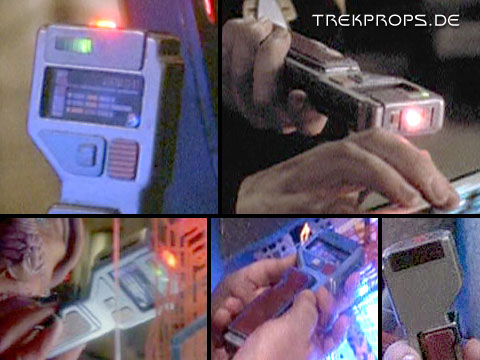
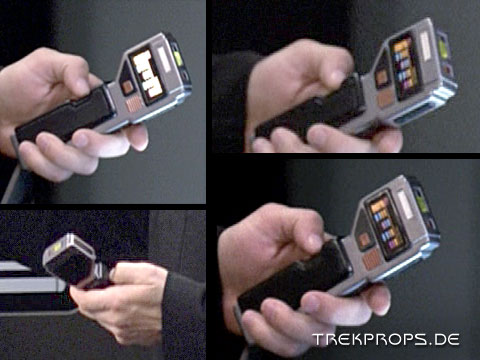
Here are some reference pictures I have collected for the ODN Scanner:
Version 1: Early seasons of DS9 – color scheme 1 – medical application.
Version 2: Late seasons of DS9 – color scheme 2 – engineering application.
Version 3: Late seasons of Voyager – color scheme 3 – engineering application.
As seen on the pictures, these kinds of props often don’t have a “fixed” field of application. Because of this, they can be seen in the hands of an engineer as well as in sickbay.
In the Star Trek universe, the explanation for this is simple: All of these devices are composed of modules, so they can operate in different configurations and with a different programming to perform various tasks.
Production-wise of course, the prop department has a certain amount of these “miscellaneous” props in storage and then decides which one suits the requirements of the script best. If necessary, they sometimes repaint it to make it look a little different.
This is also why these types of props usually don’t have an “official” name. Therefore I had to make one up which would correspond to the shown usage scenarios of this prop: The ODN Scanner (ODN = Optical Data Network). I chose to ignore the medical usage here. 😉
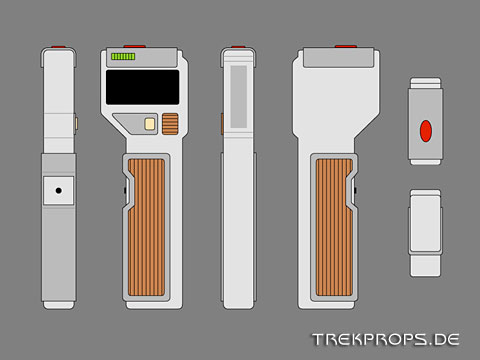
Using my reference pictures, I could then draw the following illustration, which also contained the final dimensions. Although some minor details are different from the finished product, the most important features are outlined here:
Careful planning is very helpful in this hobby.
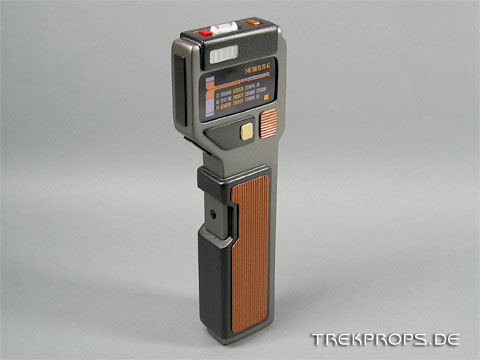
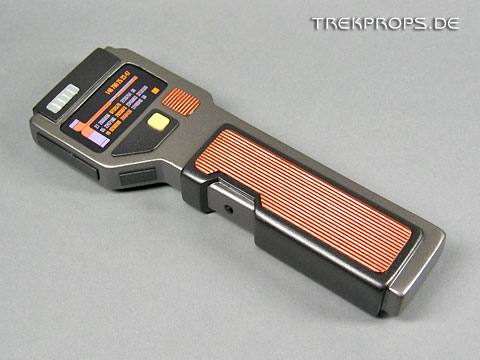
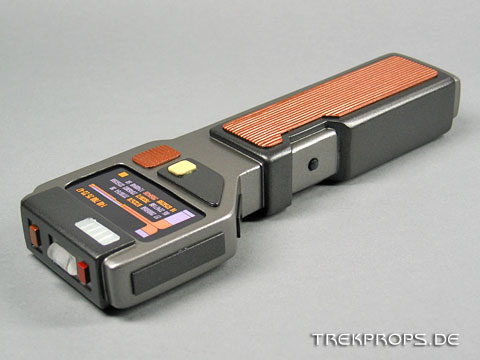
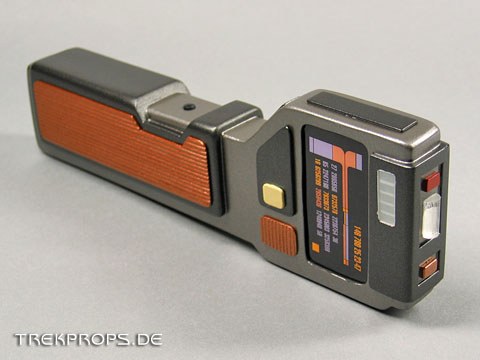
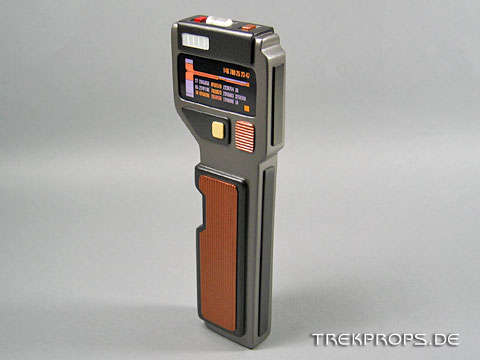
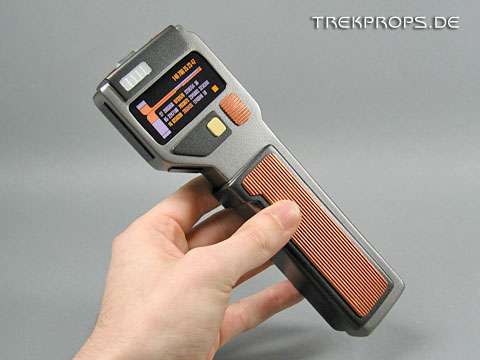
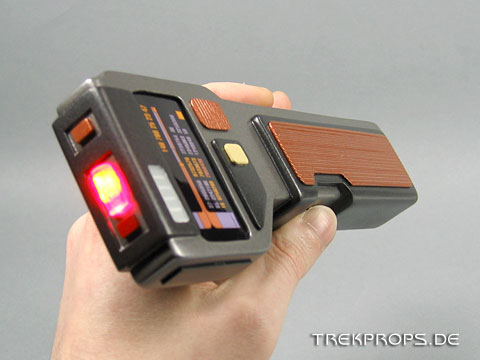
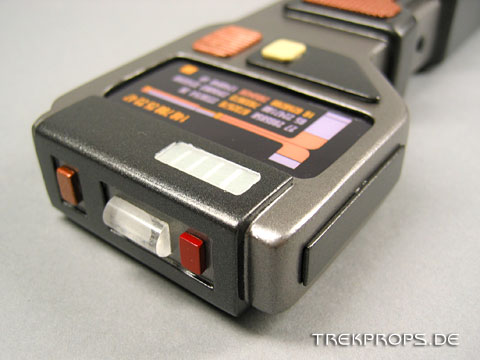
This replica is a so called hero version. This means that it’s not just a painted chunk of resin but a hollow shell with working electronics inside. In this instance, there is a running light with five green LEDs above the display and a super bright red LED on the top side of the scanner. This brings the prop to life, increases the authenticity and is just so much more fun!
The traditional color scheme for Starfleet equipment: PK 7173 & PK 7179
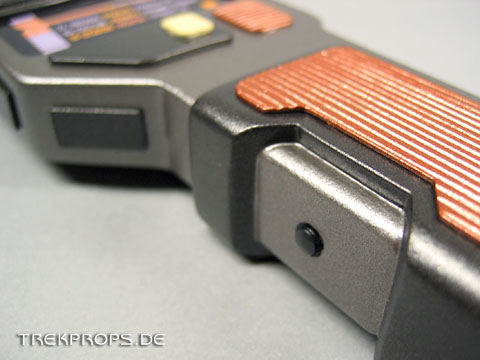
Several greeblies add authenticity to this engineering tool: Styrene, clear plexi.
This prop can be seen in “Deep Space Nine” as well as in “Voyager”…
… and also had a short appearance in the show “Borg Invasion 4D” in Las Vegas.
I also made the display graphics myself…
… and got it printed on high quality photo paper.
This so called hero version contains an electronic circuit, …
… which lights up 5 green running LEDs and one super bright red LED.
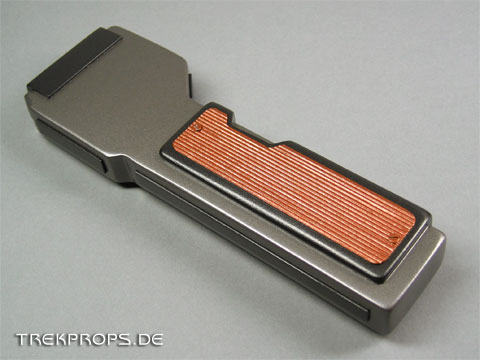
The button to activate the lights is located on the handle.
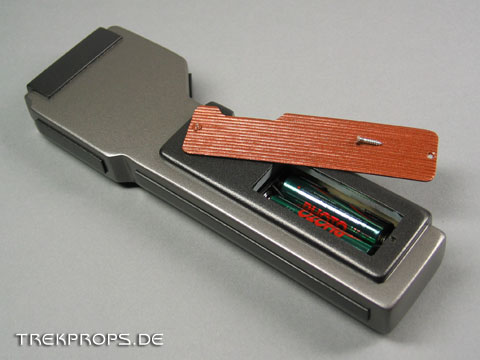
The batteries are installed into the handle, …
…which can be opened to replace them easily!
Here is a flash animation to show the scanner in action:
The glowing LEDs are not simulated but actually photographed! The speed of the running light matches almost exactly the real thing.

6 Responses to “ODN Scanner”
Voyager Desktop Computer on: August 6th, 2013 at 23:41
[…] and needed to fit neatly into the Star Trek universe, so I installed the circuit into one of my ODN Scanner bodies, which had enough room inside and then some. To differentiate it from my usual ODN Scanner […]
Work in Progress: Voyager Desktop Computer on: August 8th, 2013 at 22:55
[…] here is the whole circuit installed in one of my ODN Scanner bodies. As you can see it’s pretty simple: The power source, a button, the transmitting […]
Work in Progress: Neutrino Probe – Casting on: May 30th, 2014 at 01:35
[…] would have been to work this hole into each casting, similarly as I did with the battery door of my ODN Scanner replica. With this experience under my belt however, I decided that I didn’t want to do it like this […]
Jason on: July 13th, 2015 at 18:43
The prop looks amazing! Seems you have the answer to a question I’ve had for awhile.
What is the ridged material that you used for the grips and battery door?
I’ve been trying to identify this material as it shows up on many star trek props.
trekprops.de on: July 13th, 2015 at 18:58
Jason, I use ribbed styrene from Evergreen. Here’s the link to the german online shop I get my stuff from:
http://www.modulor.de/Modellbau/Struktur-und-Lochplatten/Kunststoff-Strukturplatten/Evergreen-Strukturplatten.html
ODN-Scanner: Inspiration durch Trekprops.de – alexkalcher.de on: December 2nd, 2019 at 16:41
[…] beeindruckt hat mich der absolut vorbildgetreue Nachbau eines ODN-Scanners, den ich auf Trek-Props.de gefunden habe. Vorbildgetreue und Funktionalität sind kaum zu […]
Post a Comment
Want to see your picture next to your comment? Go get a Gravatar!