Buildup: Small PADD (VOY)
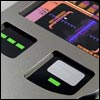 How do you build a PADD? Well, it’s easy, if you have the right kit. In this tutorial I want to show you how to build up one of Matt Munson’s small Voyager PADD kits. Although he claims to build these is under an hour, I would recommend to take a little more time…
Matt’s PADD kits contain three black acrylic plates which have been precision cut with a laser using the accurate shapes traced from an original prop. The thickness of the plates is also correct (3 mm).
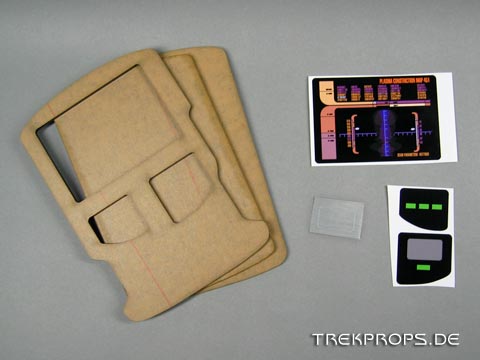
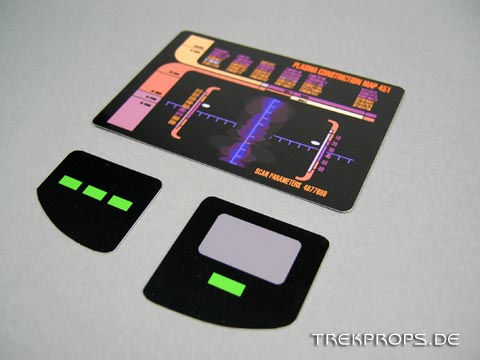
Along with these plates I got a set of graphics for the display and the control buttons. I also got another display graphic so I could choose my favorite one. Furthermore, there’s a sticker of brushed aluminum vinyl included for the big button in the right control window. Looks sweet!
Here are all of the kit pieces at a glance:
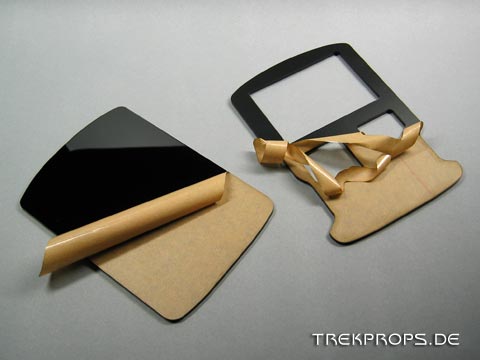
There is a protective paper backing on the acrylic plates. This is a necessary part of the laser cutting process.
This paper has to be removed first, but only on the “inner” sides of the front and back plate:
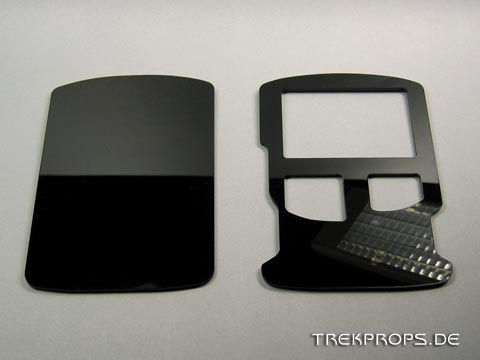
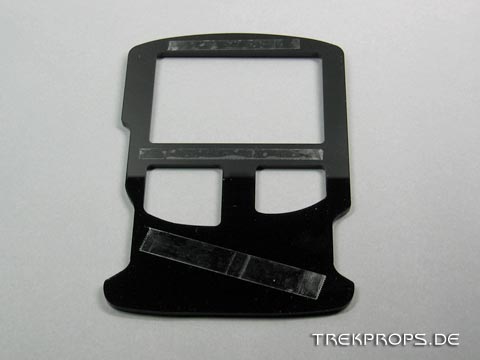
These are the two plates without the paper. Note that the right (front) plate is lying on the table reversed showing it’s “inner” side.
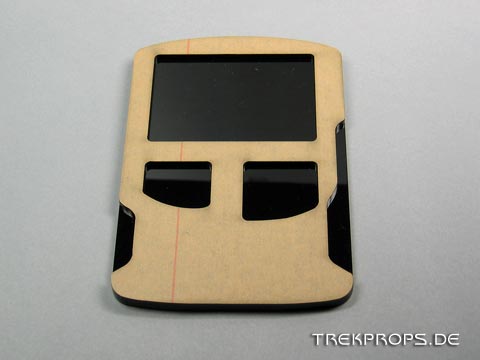
Next these plates are carefully glued together so that they are perfectly aligned to each other and the edges are flush. This is just a temporary fixation and will be unfixed later. So I didn’t use a non-removable glue, but double sided adhesive tape instead.
I left the paper attached to the front and back side to protect them during the next step.
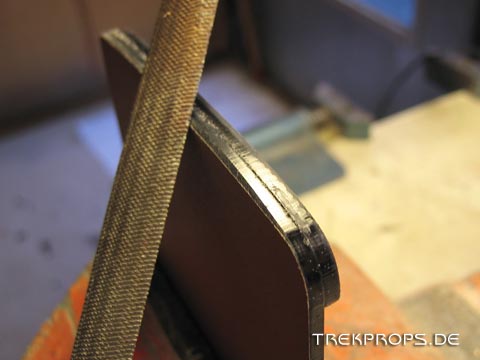
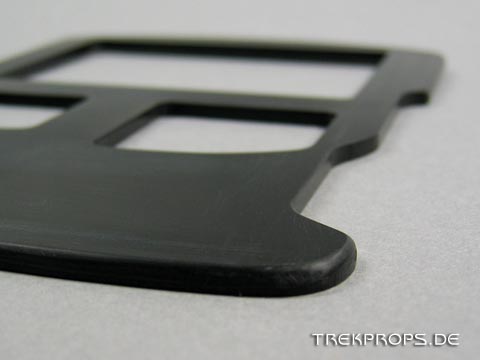
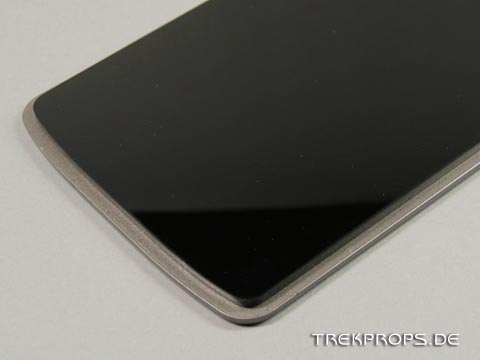
The corners and edges of the PADD need to be rounded. Since acrylic is a pretty hard material, you won’t have much success using sandpaper. For this you need either a dremel with an appropriate attachment, a router or a big file. I decided to use the latter to keep a higher degree of manual control.
This is a rather tricky process. The curvature should be clearly visible, but it shouldn’t be too round. It wasn’t easy to remove an equal amount of material all around and on each side to make it look symmetrical.
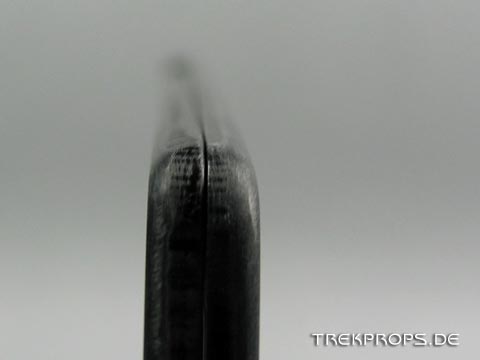
The file work is of course only a means to add the bevel to the plates. You won’t be able to get the surface smooth that way. To achieve that, I used sandpaper going from lower to higher grit numbers. This works best using wet sandpaper under running water!
During sanding I then disassembled the two plates to also sand the “inner” edges slightly – not to round them, but to remove flashes left over from the laser cutting process.
Finally, I also removed the paper backing to check the curvature of the two plates and used sandpaper to do corrections.
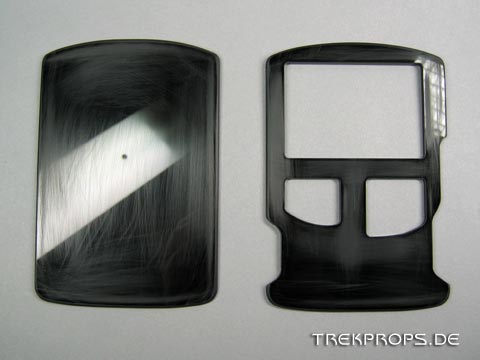
Here’s the result of my work with file and sandpaper:
Next up is priming the PADD.
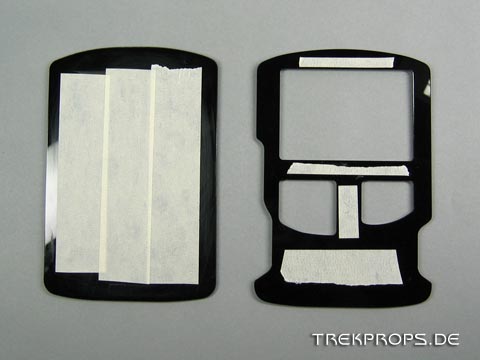
Since the plates are later glued together, the areas where the glue will be applied need to be masked. This is done because glue attaches itself more easily to “naked” acrylic than to primer or paint. This way you won’t have to use sandpaper later to rough up the surface.
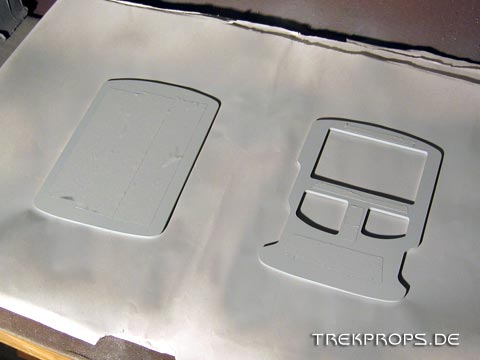
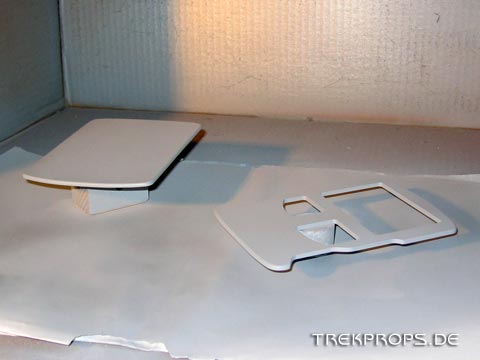
To prime the pieces, I placed them on paper without suspending them in any way! This way I didn’t have to worry about overspray getting on the other side of the plates and making them look ugly. I didn’t prime the edges in this step because they could get stuck to the paper.
When the primer was dry, I turned the plates over and then did suspend them on small blocks of wood. I primered the pieces again and also applied some to the edges. Because the plates are suspended, they can’t get stuck to the paper and I don’t have to worry about overspray because most parts of the inner side will not be visible.
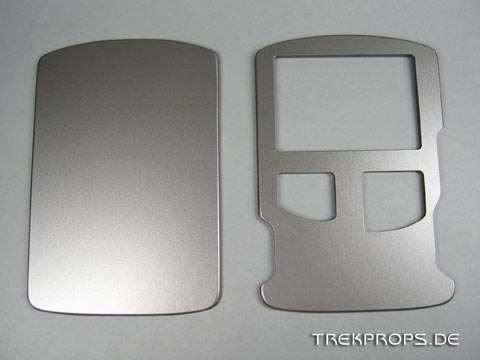
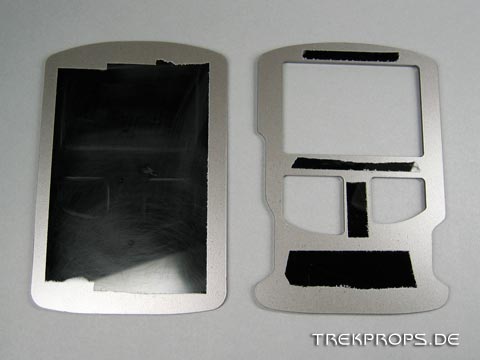
I repeated this step with my Plasti-kote 7173 equivalent spray paint, suspending the pieces when doing the outsides and laying them flat when doing the inner sides.
Next up are the graphics. They have to be cut precisely to fit inside the windows of the front plate. This requires some patience.
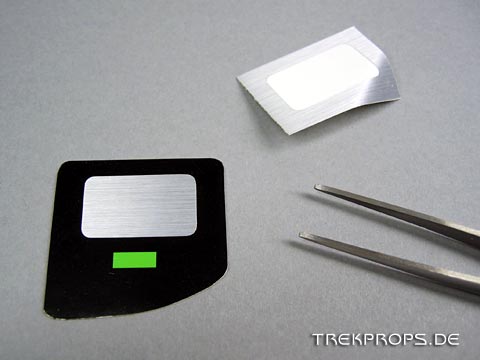
Also the brushed aluminum vinyl sticker has to be applied to the gray area on the bigger control graphics using a pair of tweezers. The sticker has the exact same size as the rectangle and is not removable, so I had to be very precise!
Once the paint has dried, …
… I removed the tape from the inner side of the plates.
Now all the parts have to be assembled. I used 5-minute epoxy glue to join the acrylic plates together permanently. Be careful with this stuff and always wear gloves to avoid glueing your fingers together!
First, I removed the paper from the middle plate. No additional work is necessary on this one. Then, I glued it onto the back plate like so:
I had to be careful to align the smaller plate correctly (the shape is not symmetrical) and to place is exactly in the middle of the back plate. I used the working time of the 5-minute epoxy glue to correct any errors.
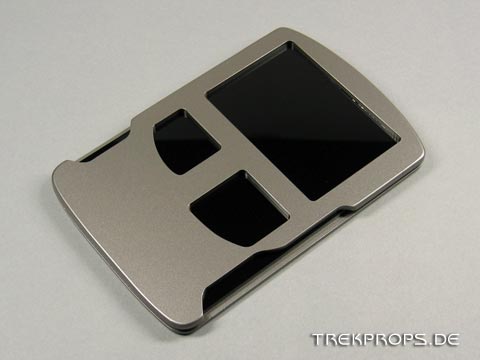
Next up is the front plate which is glued onto the middle plate. Again, careful aligning of the edges is in order.
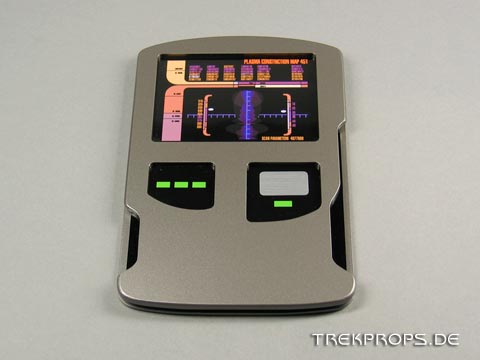
The last step is to apply the graphics. They are self-adhesive so you merely have to peel them off and place them where they belong:
That’s it, the PADD is finished!
Bottom line: A very inexpensive prop that is quickly and easily built and looks just plain cool lying on a desk!

5 Responses to “Buildup: Small PADD (VOY)”
K. H. on: March 8th, 2013 at 19:52
Where did you get the kit and graphics?
trekprops.de on: March 10th, 2013 at 15:56
It’s a Matt Munson kit. Just as it says in the third sentence. 😉
Question: Star Trek Voyager PADD on: June 24th, 2013 at 09:51
[…] Trek Voyager PADD #2 They should be 4" x 6". Here's good reference for a build-up: Buildup: Small PADD (VOY) Reply with […]
Ralph on: August 23rd, 2022 at 10:16
Hi!
You used acrylic plates. Please just one word on painting acrylic. What kind of paint did you use? Is acrylic possible to be sprayed?
Andreas on: August 25th, 2022 at 21:48
I am using metallic automotive spray paint, which works quite well on Acrylic as long as you properly prime it beforehand. Never had a problem with it. But then again, I’m not handling these pieces a lot, they are mainly for display.
Post a Comment
Want to see your picture next to your comment? Go get a Gravatar!