Work In Progress: ODN Scanner – Part I (Scratch-build)
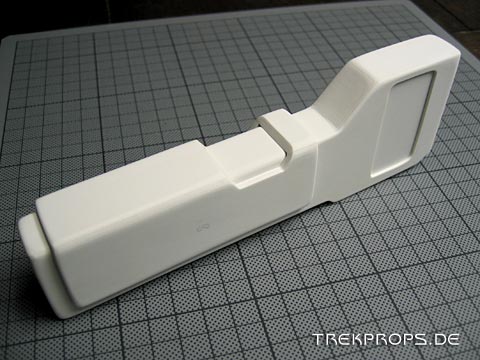
 Welcome to the first part of my progress report covering the creation of my ODN Scanner! In this part I will show you how I scratchbuilt the prototype (the so-called master model) of this prop that I will later cast in resin. Part II and the Tutorial will then cover how I did the silicone rubber mold and how to build up one of the resulting kits.
With every building project, there’s one essential question: What material am I gonna use? Well, in prop building there’s most of the time only one answer to this question and that is “styrene“. Styrene is nothing more than sheets of plastic which is available in several thicknesses. It is also used in other model building efforts, for example architectural models.
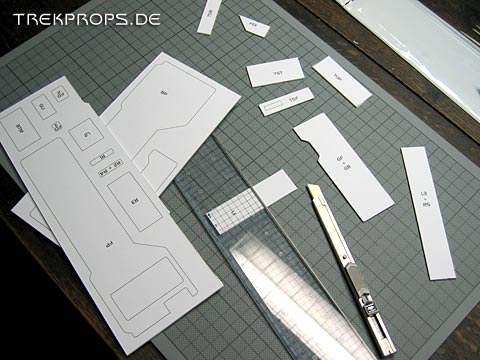
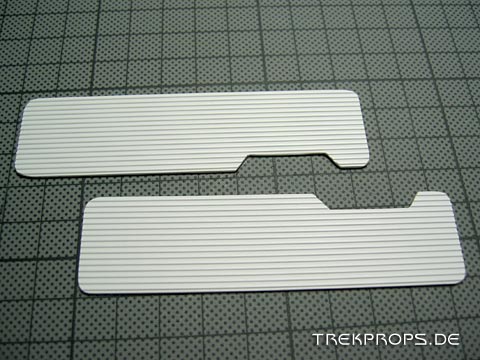
So, the first step of building the prototype was to cut out all of the needed pieces from styrene (I used styrene with a thickness of 1 mm). After I had determined the shape of these parts by drawing a blueprint, I printed them out and glued them onto the sheet of styrene using spray glue. Next up was cutting the pieces which I did using a sharp precision knife. After scorching the sheet two or three times, they can easily be broken off along a straight edge.
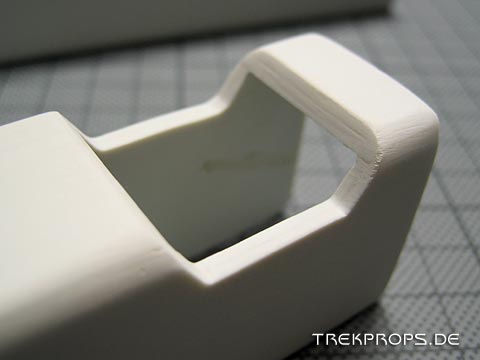
After that it’s no problem to remove the paper from the styrene. If it doesn’t come off easily, simply put it in luke warm water for a few minutes. Then, the edges of the styrene parts had to be sanded lightly to create clean edges. The opening which would later become the display window proved to be especially difficult. A lot of sanding work was necessary to achieve really straight lines and rounded corners. Very useful in this step was sanding under running water which requires a special kind of sandpaper but results in very little dust and a very smooth edge.
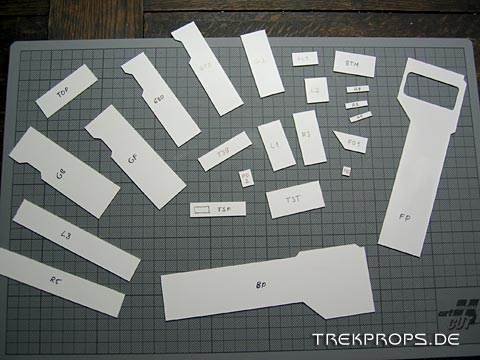
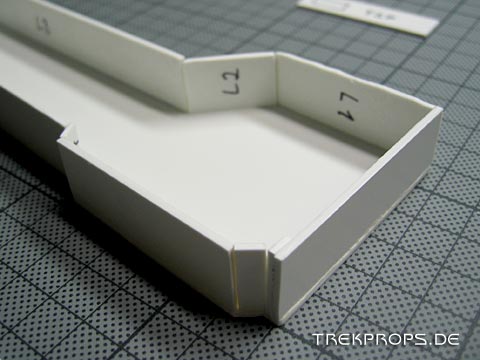
Here are all 24 seperate pieces which I marked with the respective codes to know which one belonged where.
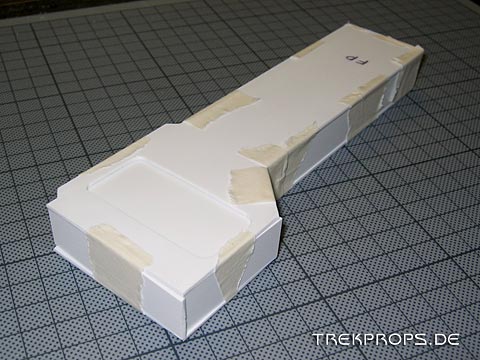
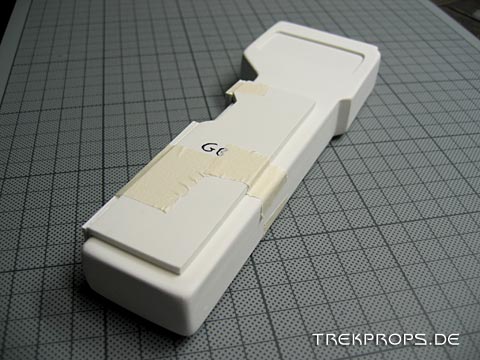
To see if these pieces could fit together to result in the object of my wishes, I did a test fit and glued them together using removable masking tape:
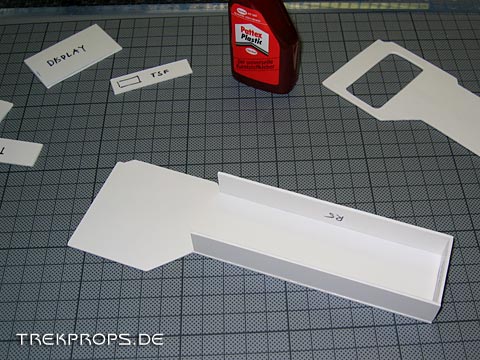
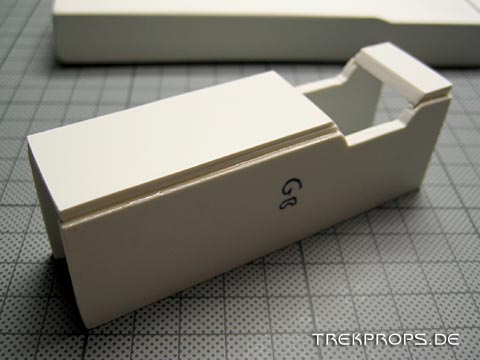
Styrene is best glued together with a special plastic glue which joins the parts permanently:
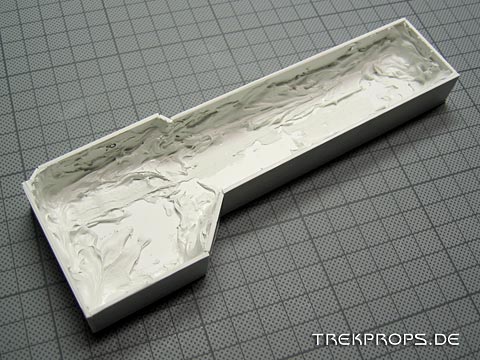
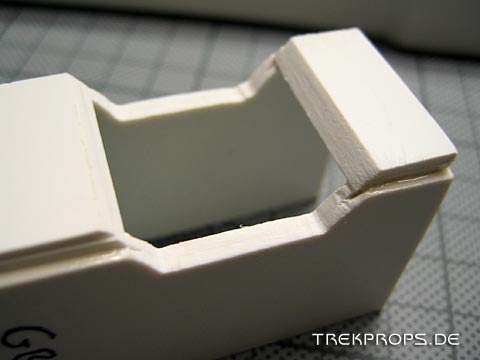
I filled the inside of this open box with putty to gain additional material for the later sanding process of the corners and edges. I wanted to prevent creating a hole in the body which I would not be able to close again.
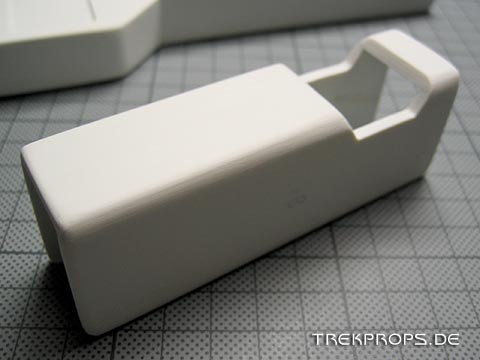
After I had closed the body, I sanded the hole object roughly to remove all of the sharp edges and corners.
Next up was the handle. Here I also did a test fit first to determine how I would have to glue the pieces together. Because the handle would have been too thin consisting of 1 mm styrene, I glued two identically shaped parts together to make it thicker.
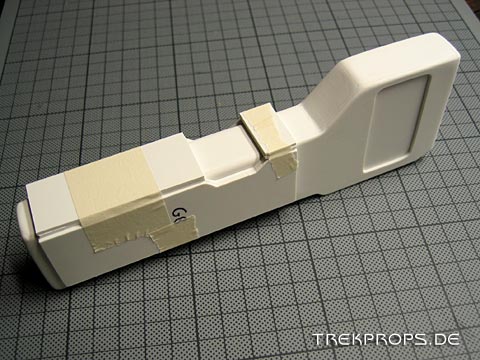
To perfectly fit the handle onto the main body, I actually attached the respective parts to it while glueing them together.
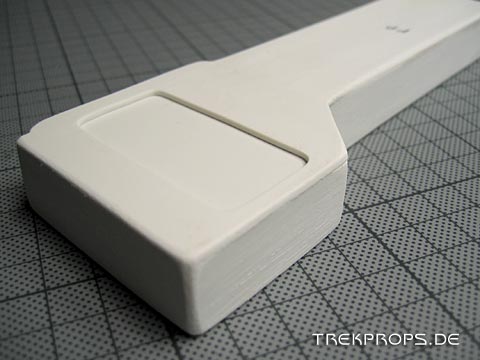
As you can see, the edges of the handle were very raw. Because of this I again had to use putty and a lot of time to give the handle a sleek shape and a smooth surface. The complex form obviously didn’t make this easy for me. However, the time was well spent as you can see here:
Fits like a glove! However, the main body being curved and the inside of the handle being straight, small holes were visible in between which again had to be filled and sanded smooth.
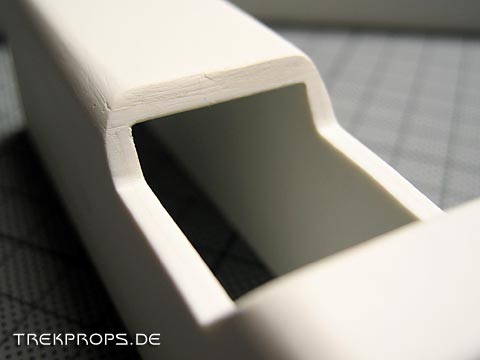
After that, the complete body had to be sanded very carefully to make every surface smooth and to achieve the desired degree of roundness on all edges and corners. Because silicone rubber transfers each and every imperfection to the mold very rigorously, the master model has be as perfect as the final kit or prop is supposed to be. Mistakes made here are being carried all the way through to the final product and then have to be corrected on each casted part anew. So, a lot of work can be saved here by thinking everything through and doing things right.
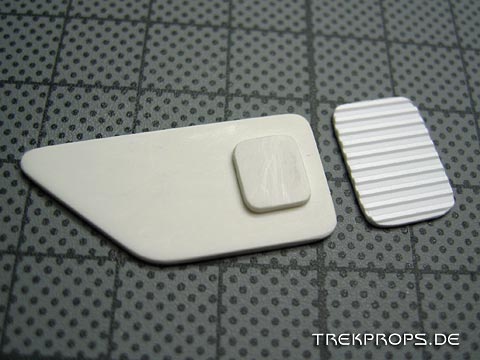
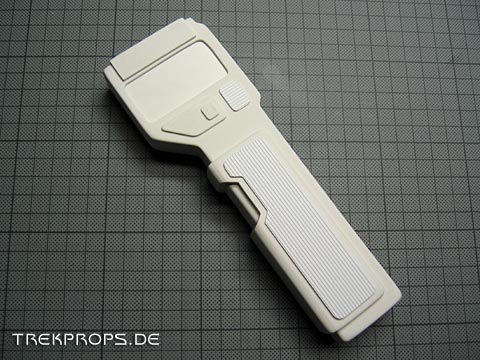
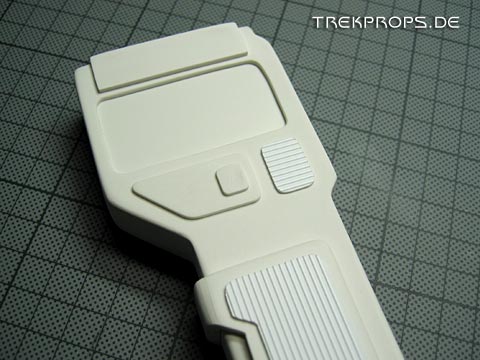
I here fabricated one set of greeblies, which are normally being put on as the last step in the buildup of a prop, to see what the final look of the prop would be:
In the same way I did the handle, I also made the scanner array on the top of the prop above the recessed display area. This way I could simply plunge it on and then attach it.
Even if it doesn’t look that way, the construction of such a prop from scratch using the methods shown here is a lot of work! Sanding is by far the most time consuming task because you always spot another small blemish which has to be repaired or areas you are not satisfied with. Also, the whole process requires a lot of patience because it just takes very long if you want to do it right. Anyhow, the effort is well worth it especially when you see yourself making progress and getting the project somewhere.
So far, so good. The master model is finished. Next is Part II in which I describe how I made the silicone mold.
Post a Comment
Want to see your picture next to your comment? Go get a Gravatar!
